Sunday, November 18, 2012

Save Water with Upcycled Milk Jug Watering Cans

If you're like me, you follow the mantra, "Waste not, want not." I absolutely hate watching all the cold water go down the drain as I'm waiting for the shower water to warm up. The other day it occurred to me that instead of taking all those milk jugs we go through to the recycling center, we could fill them with the cold shower water, save them for spring, and then water our trees and plants with them! (We killed two new maple trees this past year because we didn't water them enough. Next year, we'll do better, I promise!)

My husband was like, "And what are we going to do with 100 milk jugs while we're waiting for spring?" Good point. We have a little overhang where the house meets the patio, and we're storing them under there for now. I think we'll run out of room though, and then I guess we'll just have to keep them on the patio. We haven't filled them to brim so here's to hoping that they won't explode after freezing and thawing!

Update: It's now midwinter, and we have probably fifty gallons of water sitting all over our patio. I bet the neighbors love that. I'll probably get a letter from the HOA telling me that having milk jugs sitting all over my yard is a violation :)

I just ran across this idea today, which goes right along with my milk jug watering can idea :) She takes a lighter, heats up a needle, and pricks holes in the lid of the milk jug. Excellent. I am so doing that this spring!

Monday, November 12, 2012

Embroidered Hand Print Ornaments

On your marks, get set, GO!  Let the Christmas crafting begin :)

You've seen these embroidered hand prints all over the bloggy world, right?

I decided I wanted to make mine into Christmas ornaments, although I must admit, they turned out a little larger than I thought they would.  Who would have thought that a 3 1/2 year old and a 13 month old would have such large hands?  I guess I really know how to grow 'em.  

The hardest part was tracing my 3 1/2 year old's hand.  The second hardest part was finding my embroidery floss in the basement craft closet.  I've had this stuff since I was in 5th grade, when I first got into counted cross stitch.  I don't really do that anymore since I've taken up sewing, but of course I could never get rid of the floss!

I did go out and buy a water soluble pencil for marking the hand prints onto my fabric, as well as two small hoops.  The white fabric and ribbon was an old curtain from my stash.  I think they turned out pretty well if I do say so myself.  (Did I mention this was my first try at embroidery?)

Saturday, November 10, 2012

Family Heirloom Recipes on a Towel

Yes folks, this must be the most awesome Christmas gift idea I've run across in years.  I am so stoked to make these for all the women in the family.  I collected family recipes from my great aunt and grandma, my brother's wife's mom, and my husband's grandma, and then scanned them into my computer as a color PDF file.  Next I opened them in Picasa without having any luck, and eventually had my husband help me work on them in Adobe CS5.   That worked out much better for me than Picasa, but it helps to have someone who knows how to use the program.  I don't know how to use CS5 at all, so my husband has to walk me through every step.

When you first open it up and choose "new," you will be asked what dimensions and at what resolution you want your file to be.  This is tremendously helpful, as you need the collage to be 54x36 inches.  I set my resolution to 300 pixels per inch.  That's a pretty high resolution and will work out great for this project.

On your right, you should see where you have your background layer listed.  Currently, it should be your only layer.  You'll want to make it a pretty color that compliments your recipe card, if you want the hemmed edges to have color to them.  Do you see the two boxes of color just above the layers, one overlapping the other and slightly above and to the left?  Double click on the one on the left, and move your cursor around on the color box until you like the color.  Hit okay, and then on your toolbar (mine's on the far left of the screen), choose your paint bucket.  Click on your plain white image, and it should fill with your selected color.

Now it's time to begin adding the recipe photos.  Choose "File" and then "Place."  Choose your first recipe.  It will be too big when it first show up, so hit SHIFT and then drag the corner until it's the size you want it.  You can also drag it around to one of the four quadrants of the image, so that you'll be able to fit four recipes on the same document.  When you're satisfied, click the checkmark.  By the way, if you don't hold down SHIFT while resizing, you will find that the recipe's dimensions will get distorted.

Place and resize your other three recipe photos the same way, and then you're almost done.  I'd make the border just a little thicker than you think it should be.  I made the mistake of making mine too narrow, and it was a real pain to hem.  Just keep resizing (SHIFT and dragging the corners of the picture) until it looks right.

If you want to switch from one photo in the collage to a different photo within the collage, here's what you do so that you're able to grab that second photo: Click on the correct layer on the right side of your screen and then hit CTRL T.  Every time you resize or move an item, make sure you click on the checkmark to finalize the movement.

Want to see some yummy family recipes? Yeah, I thought so. May I recommend Nan's Sugar Cookies, as the most awesomest cookies on the planet? She made them every easter, cut them into rabbits, iced them with white icing and then piped a pink trim. Ah, those were the good old days. Love and miss you, Nan!


Linked up to Fingerprints on the Fridge and Classy Clutter

Monday, November 5, 2012

Winter Photo Shoot? You can do it!

My next door neighbor has some nice pine trees that I thought would be a great backdrop for our Christmas photo shoot. The weather is in the upper 40s, so I decided to head outside and photograph the boys in their [completely thrifted] Christmas outfits.

I took some thrifted frames, spray painted them black, and added a big "H" to one and an "O" to the other. If you have three, four or five kids, you could spell the word "JOY," "NOEL" or "PEACE."

 My husband then helped me with Adobe Photoshop CS5, to make the collage come together so cute :) I love how it turned out! If I can do it, so can you!!

Linked up to Seven Thirty Three

Wednesday, October 31, 2012

Dress Shirt Onesie

I'm not very good at sewing something and having it turn out the actual size I want it. It's usually a size or two too big. Oh well- it's a good thing my kids always grow into them! This dress shirt onesie is a prime example. I thought it would be cute for Easter. It's Halloween now, and it fits him. I was close, right?
[Jessica Nash photography]
Right before the photo shoot, he pulled off a button at the crotch, so he ended up having to wear pants with it. I thought it would be cute to see him running around in just a onesie, but oh well!

Thursday, October 11, 2012

A First Birthday Party, Seuss Style

I cannot believe my baby is 1. He's walking. (He's been walking for at least 2 months). He walks backward. He tries to run, (although it's really more like a speed walk). He has four teeth, and a fifth one that finally cut through just days before his birthday. He likes applesauce. He hates mommy's homemade peas. He enjoys clapping. If you point at him, even from clear across the room, he'll hurry over with his little index finger outstretched and come up and touch his finger to yours, like he's straight out of ET. We totally should have had an ET themed birthday party. That would have been hilarious :)

But instead, I opted for Dr. Seuss. Jonas likes the PBS show, "The Cat in the Hat Knows a lot About That." We read "Green Eggs and Ham" almost nightly. It's my oldest son's favorite book. I also figured that since we don't own all the Dr. Seuss books and/or movies, that would be a good gift idea to tell the relatives. No one knows what to get our boys because We. Have. Everything. They always ask, "What do the boys need?" Um, nothing. We have toy boxes, filled to the brim, in every room. We have totes of clothes that they boys are waiting to grow into. Seriously- I have totes of clothes that go up to size 6 (my oldest son currently wears a size 3). I have a thrifting problem, but that's for another day :)

I scoured the internet and amassed quite a Dr. Seuss party pinterest board. I found recipes that weren't necessarily Dr. Seuss, tweaked them, and made them for the party. We had The Grinch's Roast Beast, One Fish Tuna Fish, Green Eggs, Ham & Cheese Pinwheels, Fish in the Pot Goldfish Crackers, Thing 1 and Thing 2 Blue Tortilla Chips with Salsa, Pink Yink Drink (Tampico has a really good pink punch!), The Lorax Orange Sherbert, and Orange Jello Poke Cake.

Most of my photos didn't turn out very well because of the lighting, but I will share a few with you.


I thrifted this fish bowl last December in order to put Christmas ornaments in it. 
 I almost donated it back to Goodwill, but then something made me keep it.

The sherbet bowls are from Dollar Tree. They were two for a buck, and they included two matching spoons in the set.  I added some Lorax mustaches and gave them away as favors.

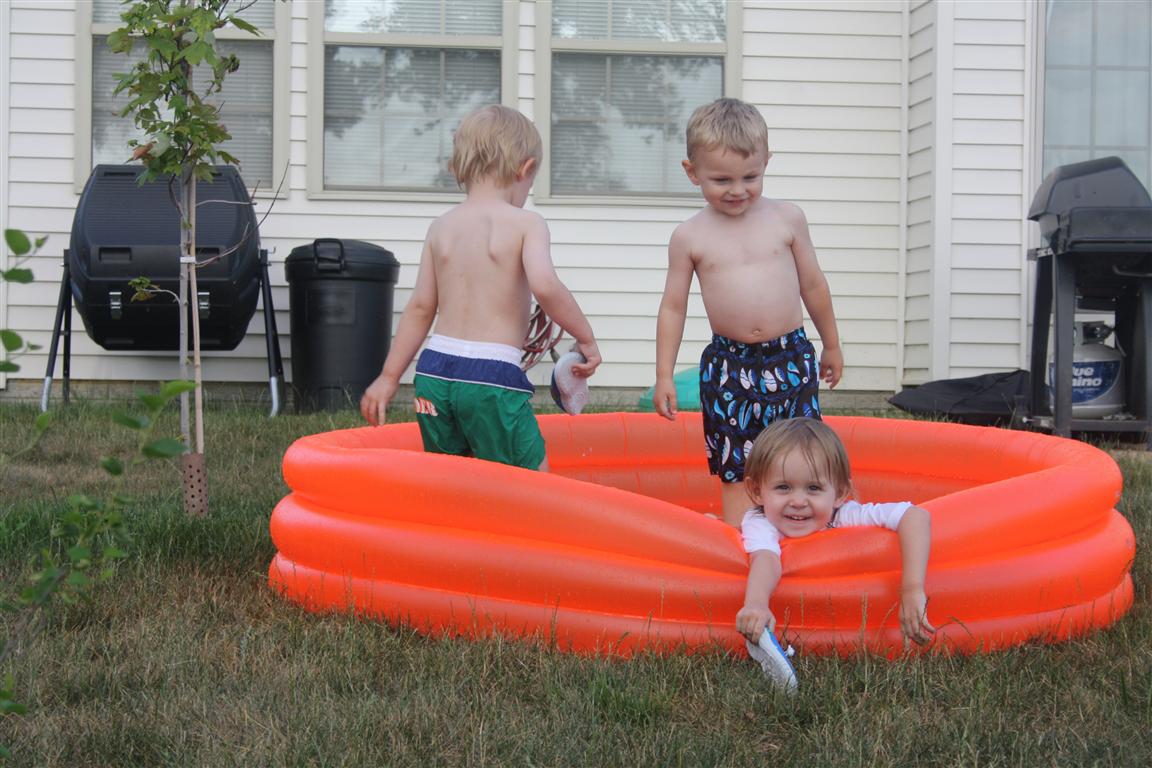
Brotherly Love in "Green Eggs and Ham" attire :)

I dusted off the cobwebs pulled out my trusty Wilton cake decorating set 
and went to town on these deviled eggs.  

Big Brother trying on one of Jonas's presents

The food table before the food came out-- after the food came out, most of the pictures didn't turn out. The first birthday decorations on the wall were thrifted back for my oldest son's birthday party. I dragged them out of storage and then added some Dr. Seuss bulletin board items from Michaels.

The Grinch's Roast Beast sandwiches :)
The little orange frames all contained a picture from a Dr. Seuss story, depicting what that particular food was.  The frames didn't do any good, because everyone ended up asking me what everything was anyway!


Saturday, July 28, 2012

Ottoman Love


Fugly, no?


I had slipcovered this thing years ago,
but my son recently drew all over the slipcover.


Ugh, enough photos of this nastiness.


Tada!


And the best part is, this transformation didn't cost me anything! The fabric was leftover from the window treatments, the fringe was already in my stash, and I already had the spray paint on hand.


I love it!

Sunday, July 15, 2012

Thrifting for Kid Clothes: Spring/Summer Edition

Last time we had the Christmas Edition...
now I bring to you, the Spring/Summer Edition!

A thrifted St. Patty's day tee (50c) and hat

50c long sleeve shirt and thrifted khakis

50c long sleeve shirt and thrifted jeans

I love, love, love his Easter outfit!
The tie was my husband's when he was little.
The shirt, khakis, and coat were all thrifted. The coat was $1.50

And here's Jonas's thrifted Easter outfit!
Somewhere along the way, he lost his orange tie.

Having fun at the zoo in a thrifted outfit!


A 50c Rawlings tank top, thrifted jean shorts,
and a thrifted Mickey sleeper for the baby

40c polo onesie

My son loves John Deere, so I bought this for $1.
On a different thrifting trip, I found these green shorts to match!

Cousins! Both the boys are wearing Joel's thrifted swim suits.
The one on the left was still new with tags! Both pairs were $1.50

This iguana tank top was a quarter;
I made the shorts with fabric that was given to me :)

$2 swimming trunks-- a splurge but I love them!

Lightning McQueen swimming trunks, new with tags

A 50c dune buggy tee with thrifted shorts.
The baby is wearing a clearance outfit from Kohls.

Friday, July 13, 2012

Going a Little Quote Crazy

Quotes on ottomans...


Quotes on the wall...

Source: etsy.com via Jodie on Pinterest


Quotes on canvases....


And I need them all! Hey, I'm a poet and didn't even know it :)

Today's project is the quotes on a canvas. Michaels has two packs of 16x20 canvases on sale for $5. Yowza. That's cheap.

I snatched up a pack, along with some raised scrapbooking alphabet stickers, and skipped merrily all the way home with my finds.

I already had some orange spray paint on hand, so I painted the entire canvas orange. When that was dry, I added my letters. As you can see, it screams Halloween, and that's not what I was going for.


Then I took off the words "brother" and "hug," painted the black letters with the orange spray paint, and painted the remaining two words with white spray paint. (I also found that the letters needed primed before painting).

After it was all dry, I reattached the white words to the canvas, and voila, it does not look like Halloween anymore :)


Linking to:


mop it up mondays